Electromix Pro Blog Setup
In this article, you’ll learn how to set up and customize the Blog Section of the Electromix Pro theme, This guide will help you configure these settings to align with your site’s branding and functionality needs.
Important: Before you can manage the blog section, you need to have blog posts created. If you haven’t created any blog posts yet, please follow this guide: https://sellerthemes.ticksy.com/article/20655/
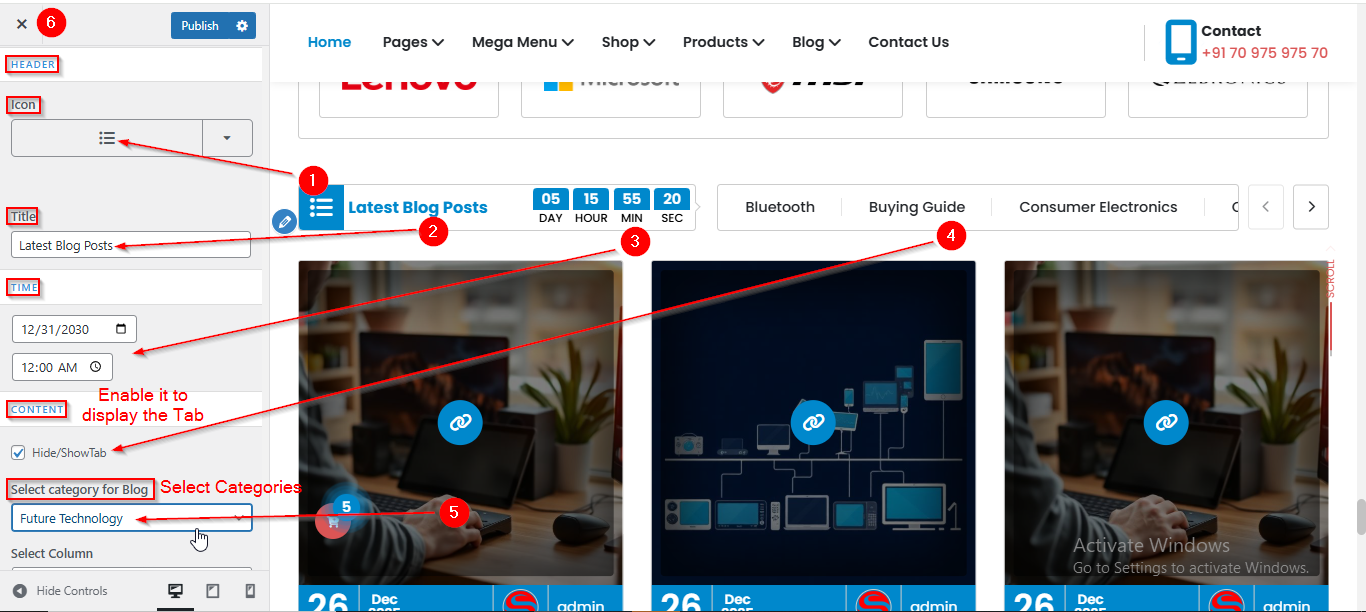
(1) How to manage the Header Icon , Title , Time and Select Category in Blog Section ?
Before proceeding, ensure you're logged into your WordPress Dashboard.
To manage the Header Icon , Title , Time and Select Category in Blog Section, follow these steps:
- From the WordPress Dashboard, navigate to Appearance > Customize.
- On the Customizer page, go to Frontpage Sections > Blog Section.
- Here, you can manage Header Icon , Title , Time and Select Category.
- Click Publish when you're done.
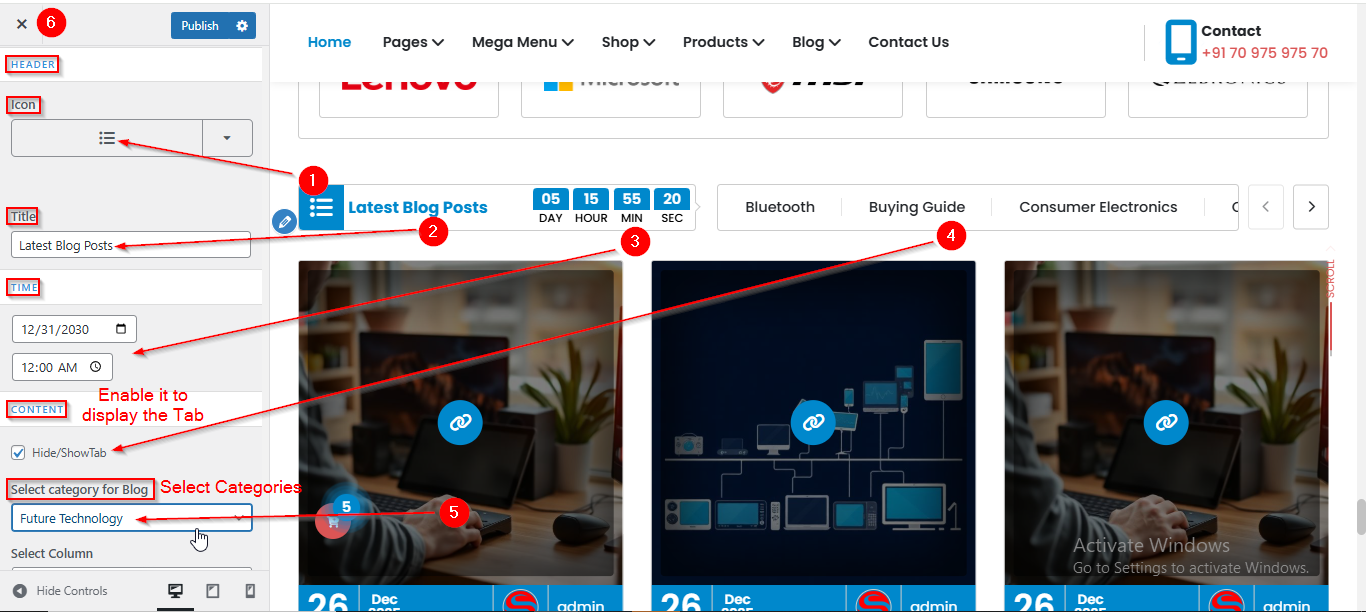
(2) How to manage the Column , No of Blog Display ,Excerpt Length , Excerpt More and Read More button in Blog Section ?
Before proceeding, ensure you're logged into your WordPress Dashboard.
To manage the Column , No of Blog Display , Excerpt Length , Excerpt More and Read More button in Blog Section, follow these steps:
- From the WordPress Dashboard, navigate to Appearance > Customize.
- On the Customizer page, go to Frontpage Sections > Blog Section.
- Scroll down until you see the CONTENT Section.
- Use the Select Column dropdown to choose no. of columns.
- Use the No. of Blog Display and Excerpt Length Slider to manage them.
- From Read More Button Text option you can choose the text.
- Click Publish when you're done.